
Cartledge Stones Ridge - Peak District Walk
Wednesday 20th June 2012
After canceling our trip to the Lakes, due to all the rain forecast for when we would have been there, we decided to make the most of the good weather before the rain returned and headed out for a walk along the moors north of Back Tor. We picked a route that hasn't appeared in any books I've ever seen and as a consequence met very few people, and most of those were at Back Tor. If you enjoy solitude and wide expansive views this is certainly a route worth exploring.
Start: Strines Bridge (SK 2212 9091)
Route: Strines Bridge - Foulstone Road - Back Tor (TP) - Cartledge Stones Ridge - Dukes Road (Path) - Cowell Flat - Agden Side - Wilkin Hill - Dale Dike Reservoir - Strines Bridge
Distance: 11 miles Ascent: 511 metres Time Taken: 5 hours 35 mins
Terrain: Good paths.
Weather: Sunny and warm with clouds building by the end of the walk.
Pub Visited: Strines Inn Ale Drunk: Jennings Cockerhoop
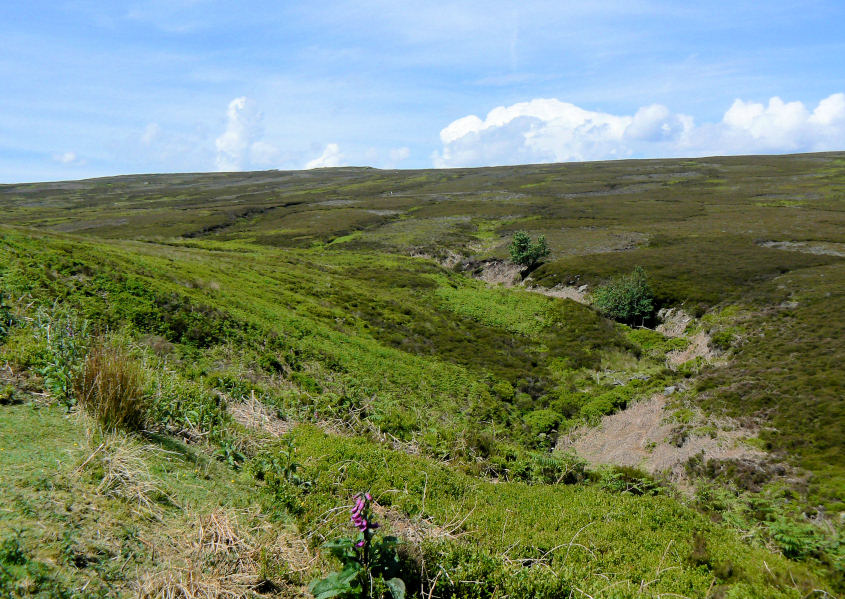
Heading along the Foulstone Road and Back Tor, the highest point of the walk, comes into view.
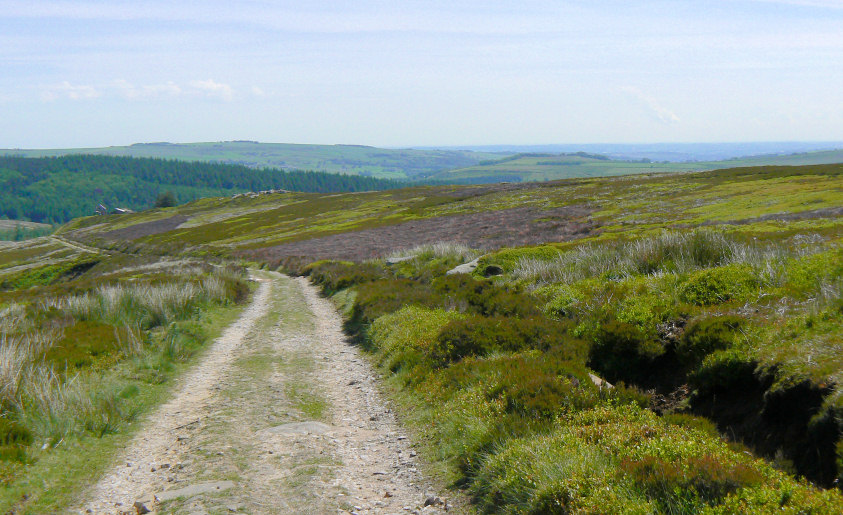
Looking back as we climb higher and the view extends across towards Bradfield.
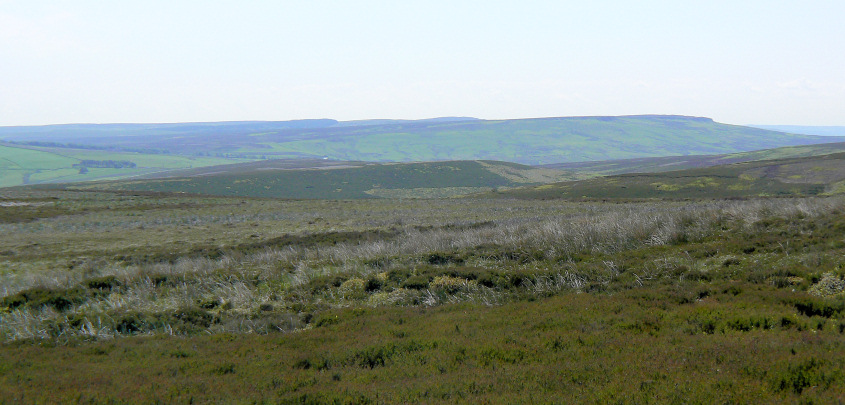
Looking round and Stanage Edge is also in sight.
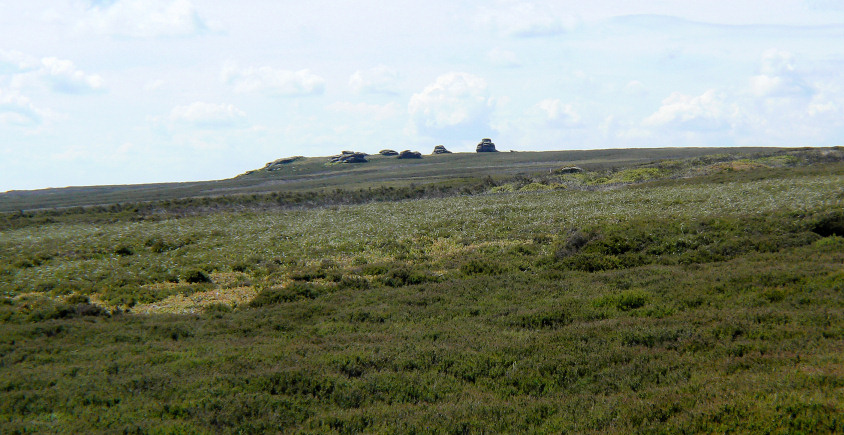
As we near Derwent Edge the Cakes of Bread come into view.
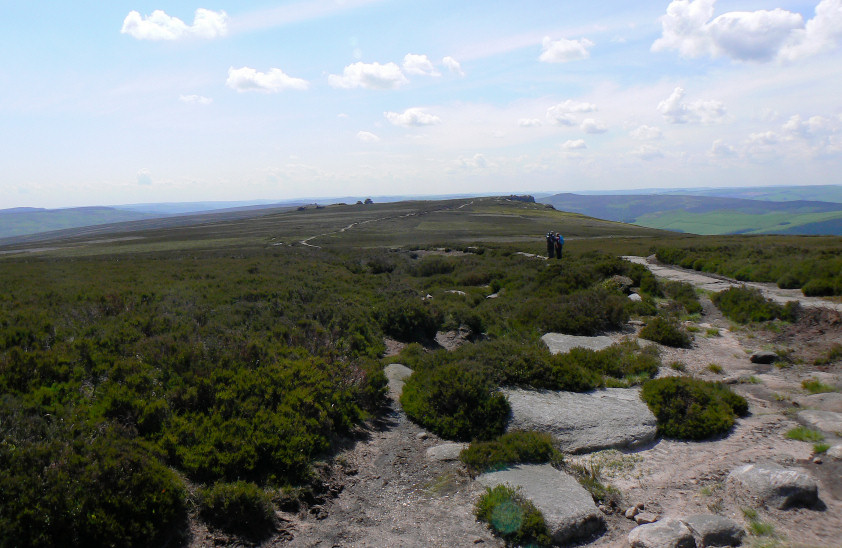
Derwent Edge. It was at this point that we saw most of the people we met today
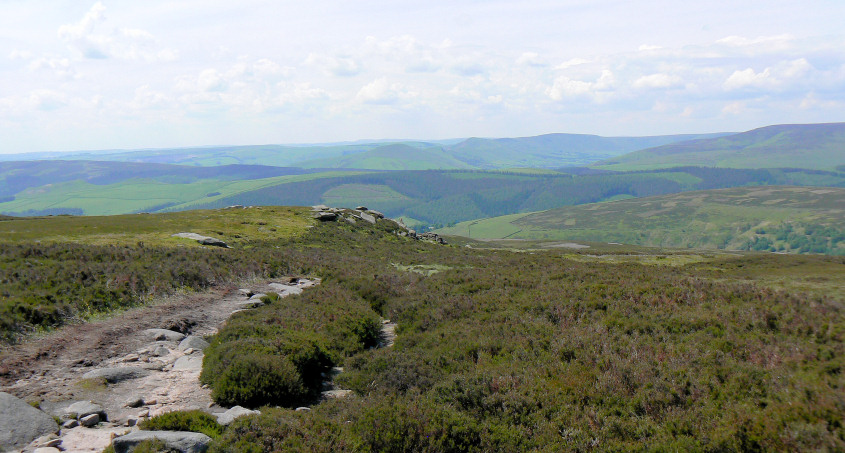
Looking across Win Hill and into the Vale of Edale.
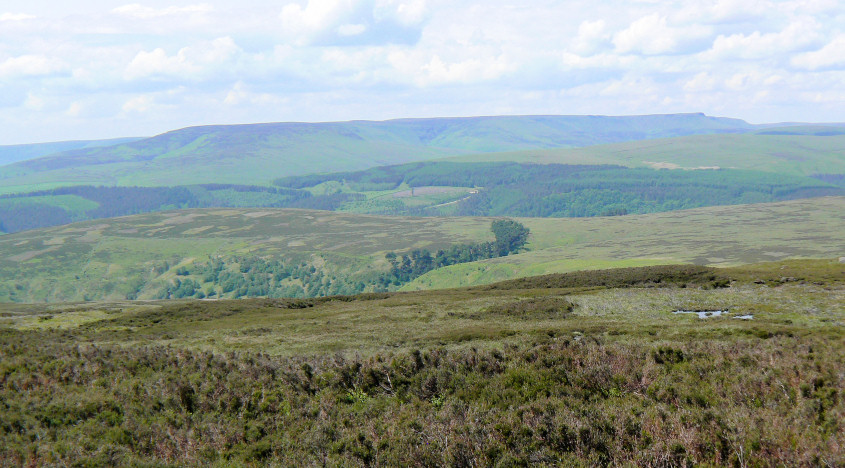
The Kinder Plateau is looking very green.
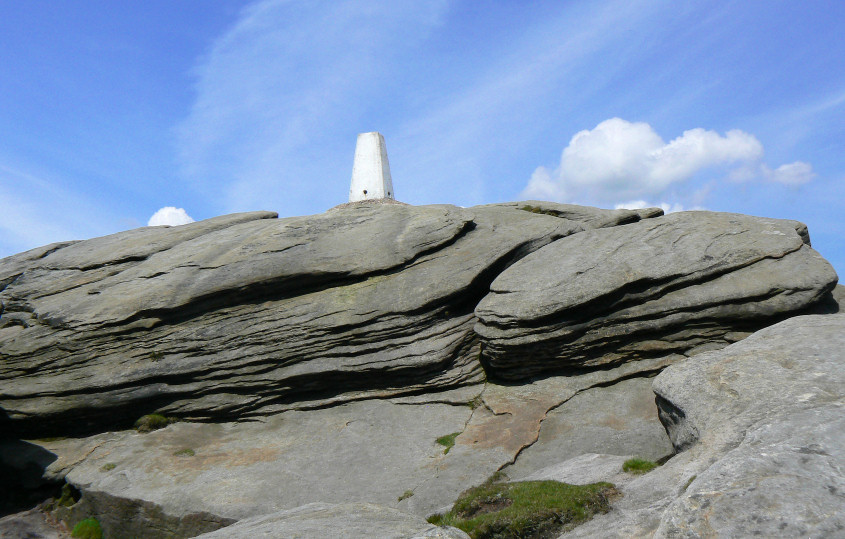
Back Tor's trig. All the time we were approaching it and near to it no-one climbed up next to it, which is somewhat unusual.
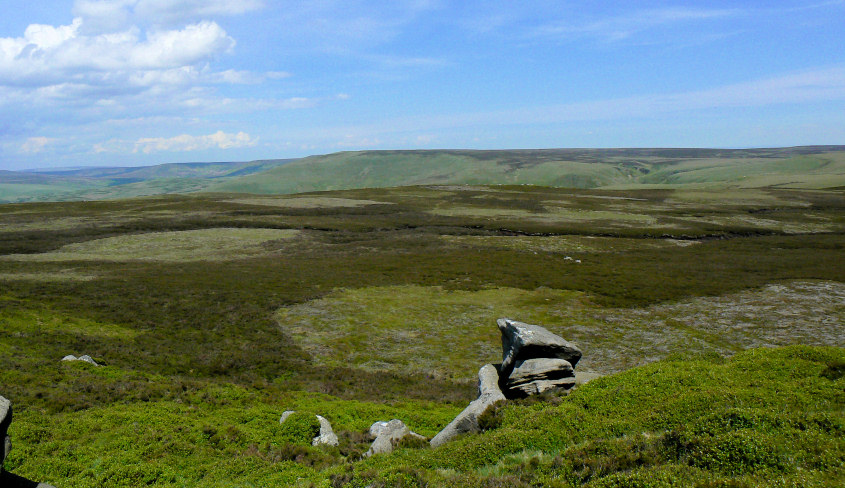
Looking across to Howden Edge from just below Back Tor's summit.
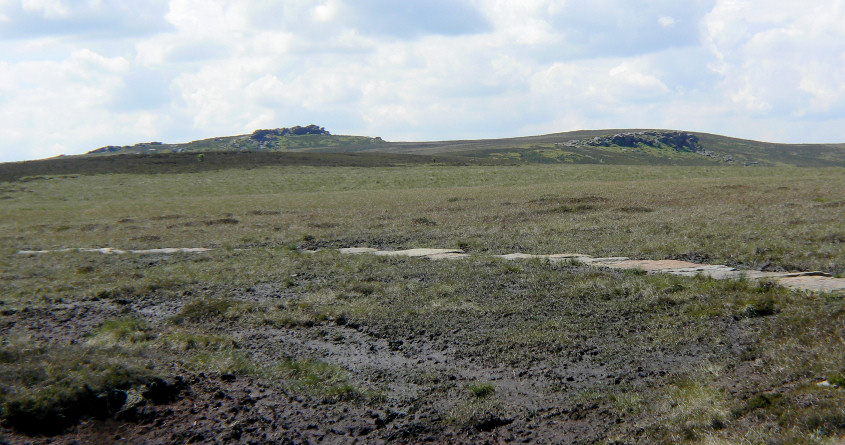
Heading along Cartledge Stones Ridge and looking back to Back Tor.
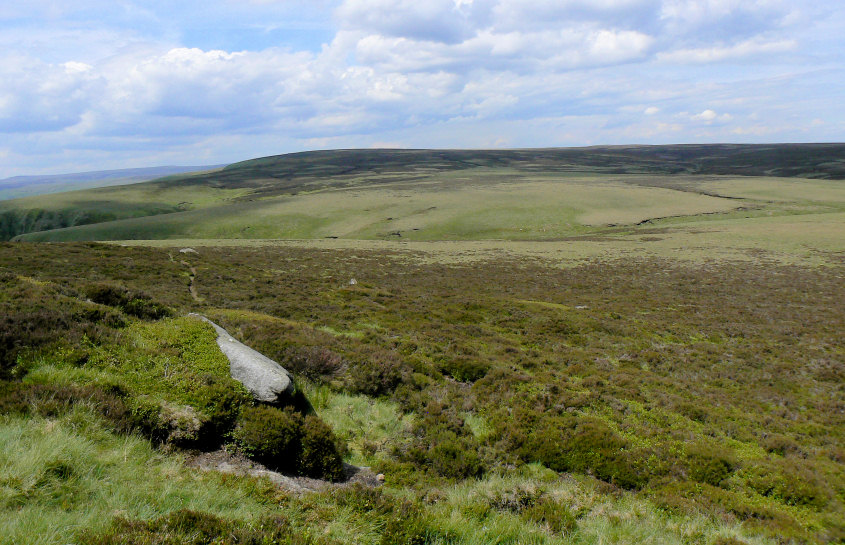
Lunch was spent at Cartledge Bents admiring the view across to the top of Featherbed Moss.
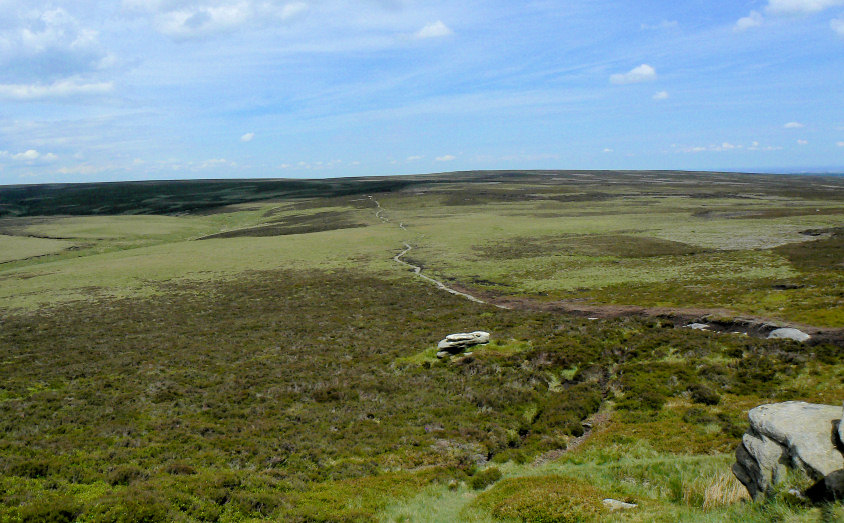
We were also able to contemplate our route to Flint Hill.
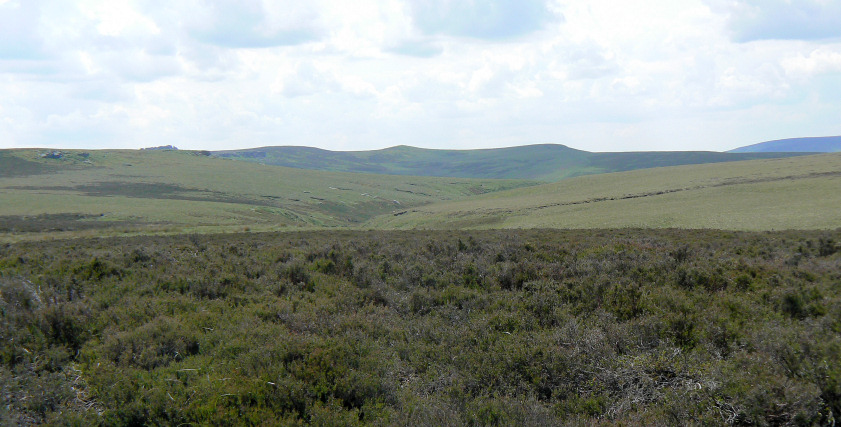
Setting off again and Lost Lad comes into view.
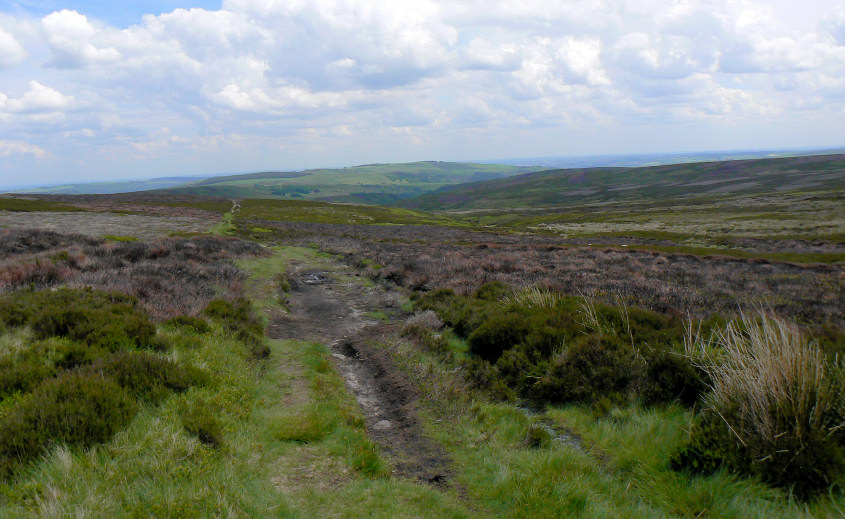
Following the Dukes Road Path with Kirk Edge ahead.
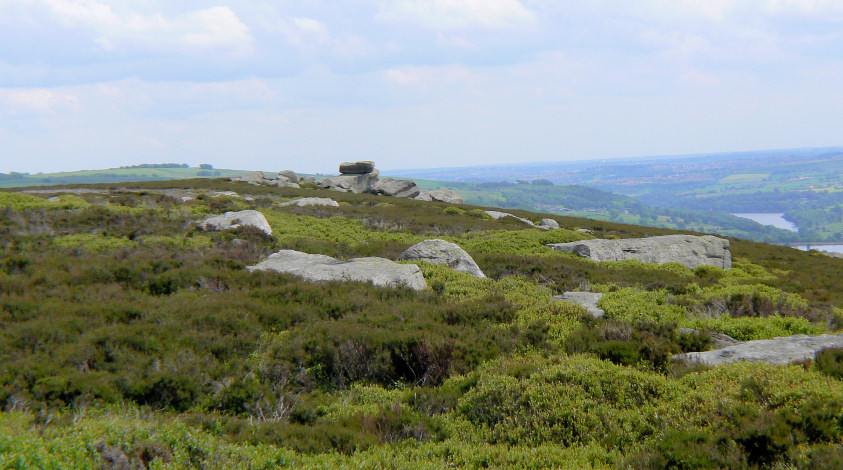
Approaching the Hurkling Stones.
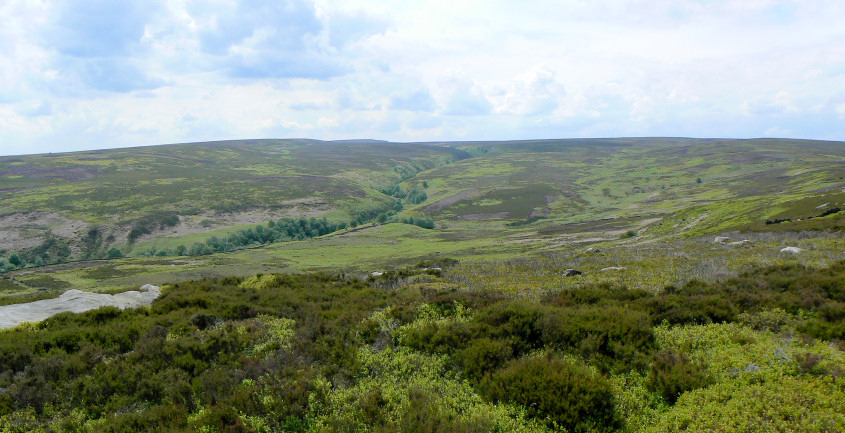
At the end of Dukes Road Path there is a bench where you can relax and enjoy the view up Hobson Moss Dike.
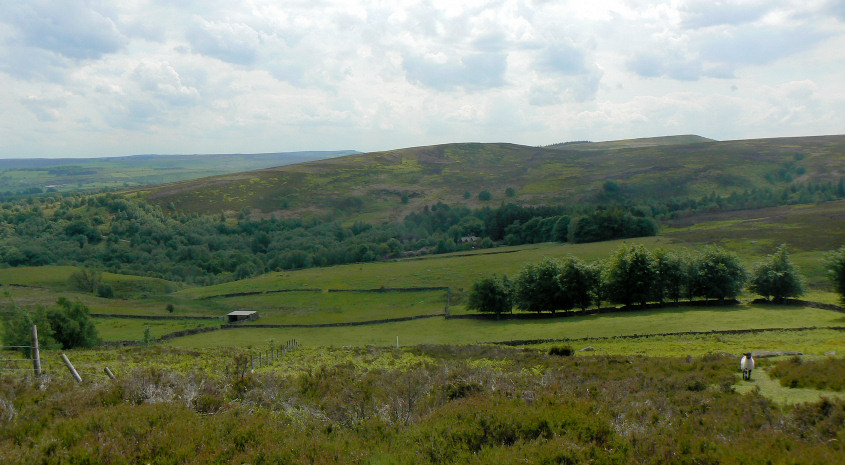
Or of course you could look across towards Emlin Ridge. However watch out for the sheep, the one in shot came charging towards us as if it was expecting to be fed. It was disappointed if that was the case.
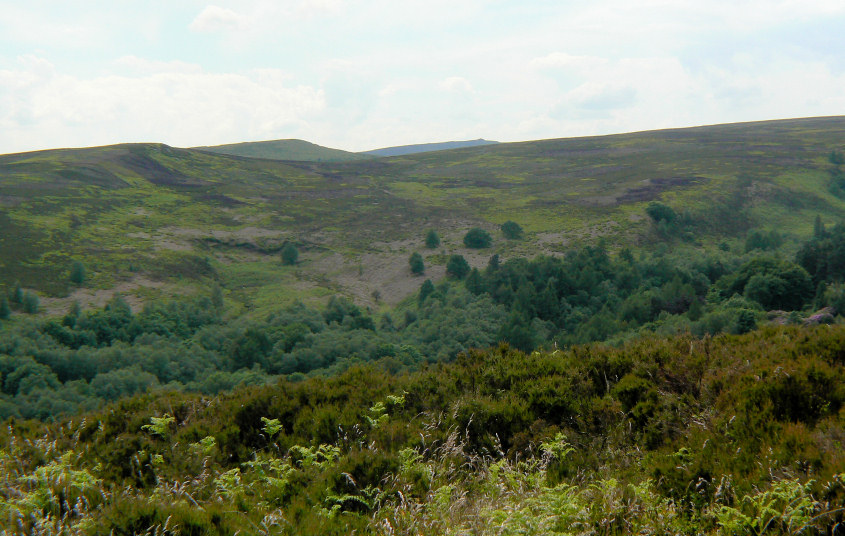
Following the path across Cowell Flat and Agden Side means you keep the views across the moors.
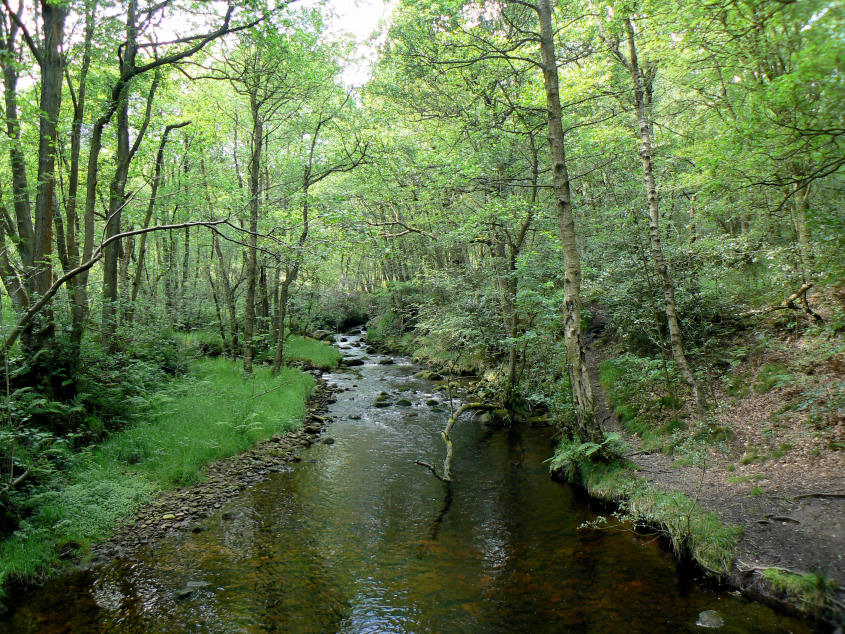
Agden Dike offers a sudden change of scenery.
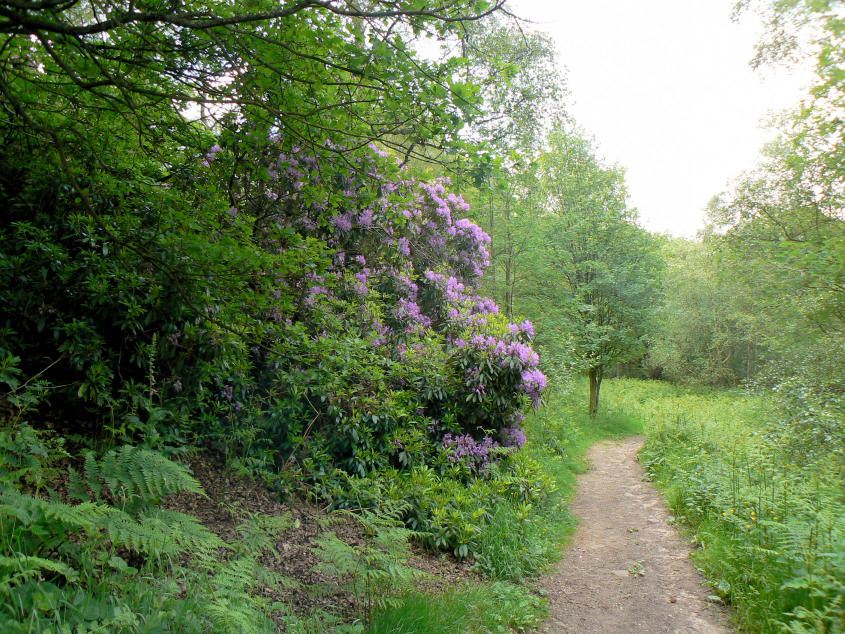
Walking through Agden Wood was a colourful affair, made all the more delightful for seeing three squirrels as well.
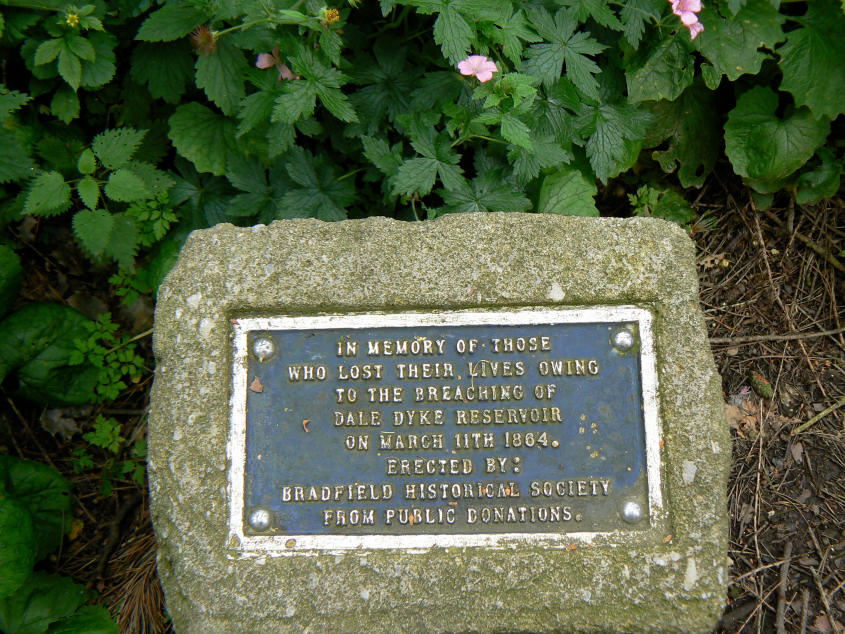
As we approached Dale Dike Reservoir we came across this memorial to the people who lost their lives when the dam wall collapsed in 1864.

This stone marks the line of the wall that collapsed. It has the letters CLOB on it which stand for Centre Line Old Bank.
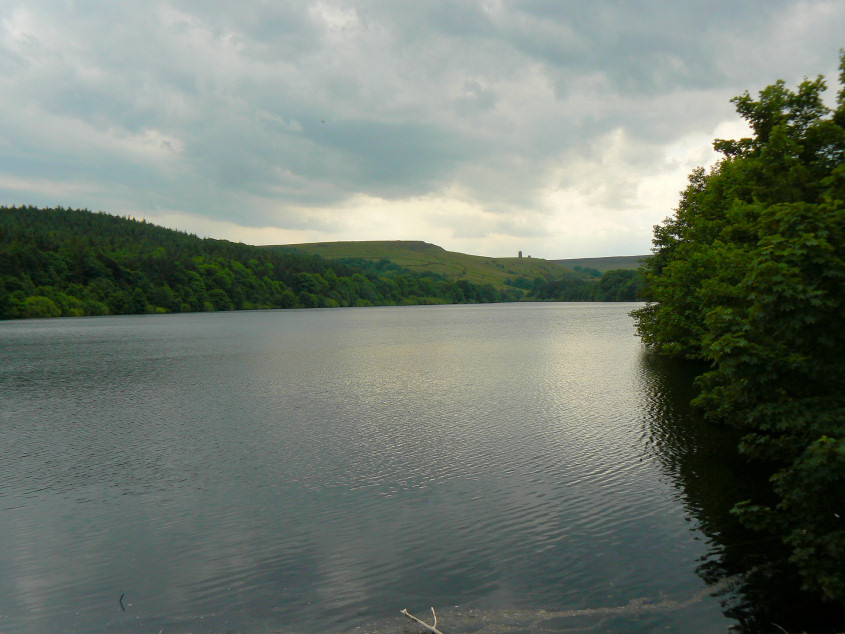
Standing (only just illegally) on the current reservoir wall and looking across Dale Dike Reservoir as the clouds start to build.

Following a delightful path next to the reservoir we saw two family of ducks setting out for a swim. The second one had at least 12 chicks but I couldn't get a good shot of them.
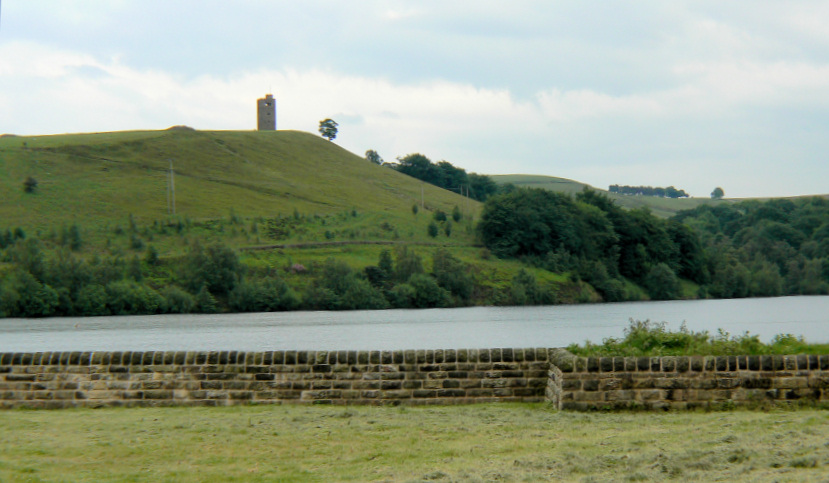
As we reach Strines Reservoir and the final climb up to the road we get our best view of Boot's Folly.
All pictures copyright © Peak Walker 2006-2023